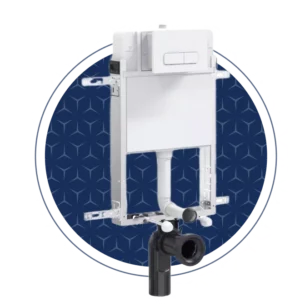
Concealed cisterns come in a variety of styles, each designed to meet different installation needs and bathroom layouts.


The benefits of concealed cisterns
Space-saving design
Concealed cisterns are installed within the wall, freeing up valuable floor space and making bathrooms feel larger.
Reduced noise
Concealed cisterns tend to be quieter than traditional models, as they are insulated within the wall, muffling the sound of water refilling.
Water efficient
Many concealed cisterns have dual-flush options, allowing users to select a half- or full-flush, conserving water and reducing utility bills.
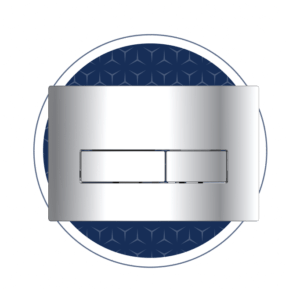
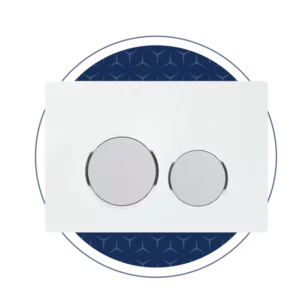
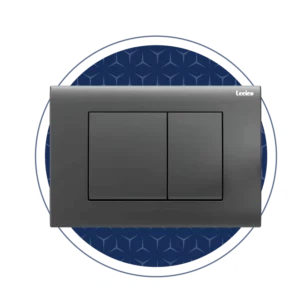
Customisable flush plates
Concealed cisterns offer a range of flush plate designs and finishes, allowing you to match them to your bathroom style for a cohesive look.
Create a bathroom that inspires and endures
A bathroom should be a haven. Somewhere to unwind, pamper yourself, and leave feeling energised and refreshed. With our bathroom furniture, you’re more than halfway there.

Why choose our concealed cisterns
Premium quality at affordable prices
Always in stock
Technical support on-demand
Up to 10-year warranties
Easy to clean
Timeless, aesthetic design
From architects to plumbers, Lecico is loved for what we do, who we are, and what we stand for.
What our architects say
What our plumbers say
What our merchants say
What our home owners say
Architects
Plumbers
Merchants
Home owners

Our experts have put together installation and manufacturing guides for your concealed cisterns.
The guides include a list of required parts and specifications. You can download the guide below.
![]()
Prepare the wall
First, determine if you're using a full or half false wall for the installation. This creates the necessary space to conceal the cistern behind the wall.
![]()
Attach wall brackets
Secure the wall brackets to the metal frame of the cistern structure. Ensure the cistern is level before moving to the next steps. The guide shows a correct alignment distance for stability.
![]()
Install cistern
Attach the cistern to the false wall using the designated wall brackets and bolts. Double-check the alignment and stability, as this will be critical for long-term performance.
![]()
Connect water
Connect the water supply to the cistern as per the instruction diagram. Temporarily remove any connector parts to clear debris from the connection points. Ensure all components are fitted back in place afterwards.

Prepare before plastering
Before plastering, check for any leaks in the water connection. This step is crucial to avoid water damage after the wall is closed.
![]()
Plaster
Apply plaster around the cistern, keeping a gap of less than 5 mm between the tiles and the maintainable frame to ensure easy access for future maintenance.
![]()
Install flush plate
Follow the steps in the guide to install the flush plate. Ensure it’s aligned and functional by pressing lightly to test the mechanism.
![]()
Install pan
Apply lubrication to specific joints as indicated, ensuring a secure fit and smooth operation. Connect the pan securely to the drain outlet, trimming and chamfering as necessary for a tight seal.
![]()
Final setup and test
Verify all connections and fittings are secure. Conduct a full flush test to ensure there are no leaks and everything operates smoothly. Once satisfied, cover any visible openings, and ensure the flush plate and pan are firmly installed.

Scroll down to see if we answered your question. If not, let us know!
A concealed cistern is hidden within the wall or a false panel, while an exposed cistern is mounted visibly on the wall behind the toilet.